DIY Dirndl Guide: How to Sew Your Own Authentic Oktoberfest Outfit
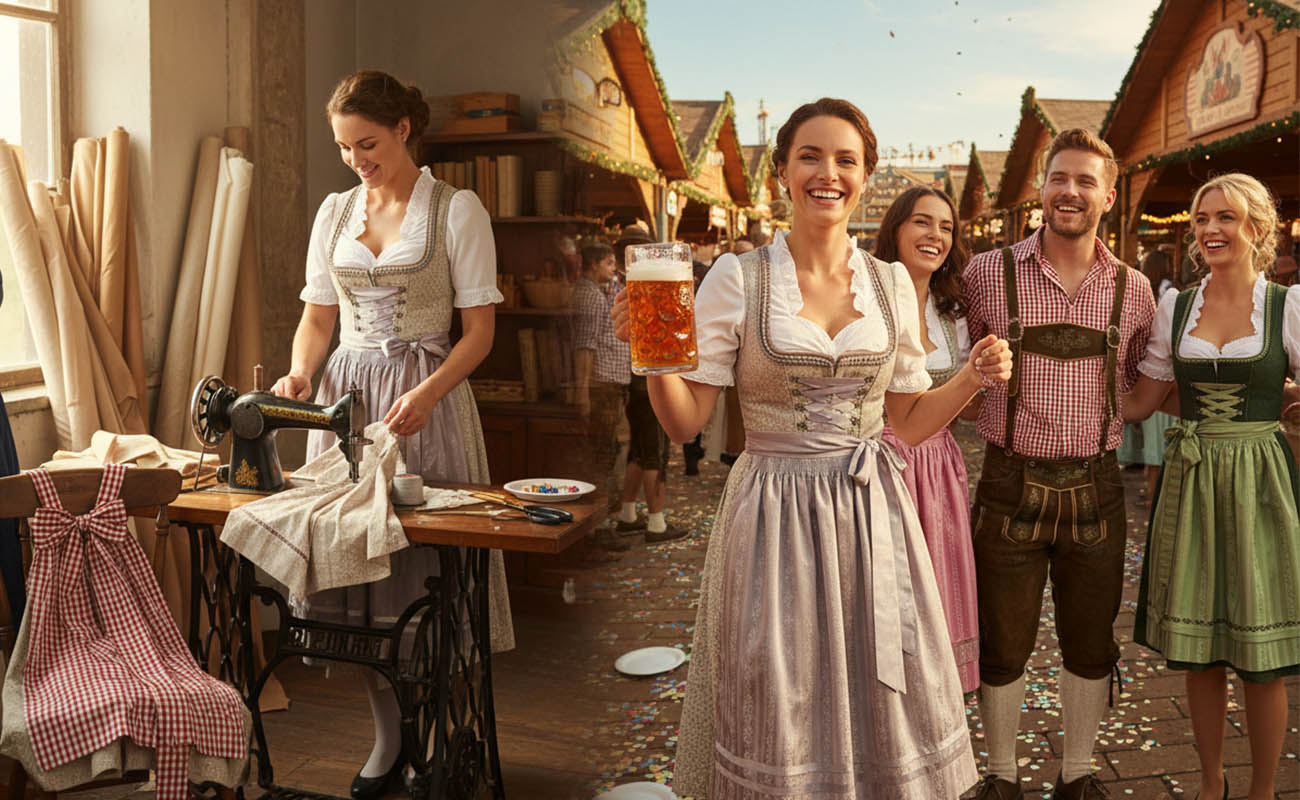
The tapping of kegs, the smell of roasted almonds, and the lively sound of brass bands can mean only one thing: Oktoberfest is around the corner. While millions of visitors flock to Munich every year to celebrate, the true spirit of the festival isn’t just in the beer—it’s in the fashion. The dirndl, a dress that originated as 19th-century workwear for Austrian and Bavarian maids, has transformed into a global symbol of festive elegance.
Wearing a dirndl allows you to step into a rich cultural tradition that dates back to the very first Oktoberfest in 1810. However, buying an authentic garment can be prohibitively expensive, often costing hundreds of euros. On the other hand, the cheap, plastic-looking costumes found at party stores often lack the structure and dignity of the real thing. The solution? Sew your own.
Creating a DIY dirndl is a rewarding project that gives you complete control over the fit, fabric, and flair of your outfit. It is easier than it looks, provided you have patience and the right guidance. By the time you finish, you won’t just have a costume; you will have a high-quality garment that fits you perfectly and commands respect in any beer tent.
Choosing Your Fabrics and Tools
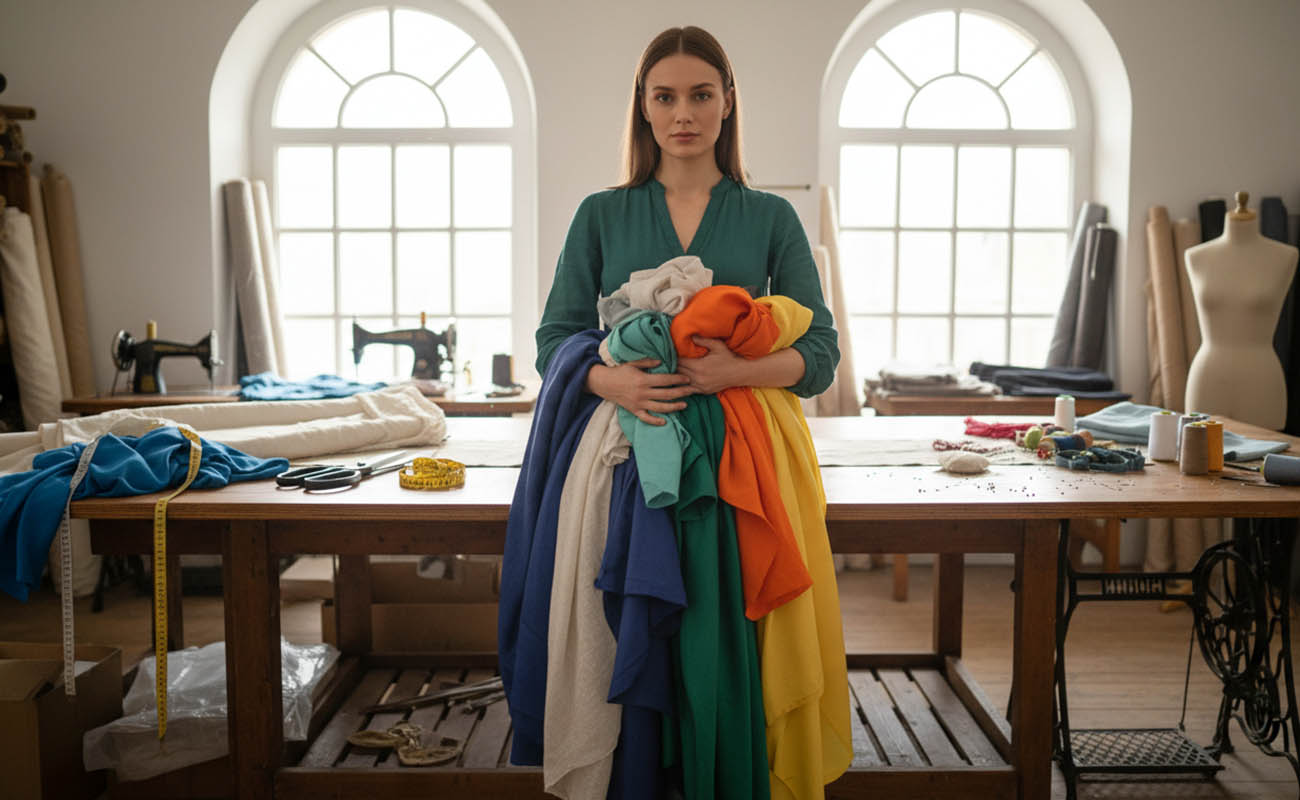
Before you stitch a single seam, you need to gather the right supplies. Authentic dirndls rely heavily on natural fibers. While modern variations exist, traditionalists stick to cotton, linen, wool, or silk. Avoid shiny, synthetic polyesters if you want your dress to look high-end and breathable—Oktoberfest tents can get very warm, and natural fabrics will keep you comfortable.
For the bodice, you need a fabric with some structure, such as a medium-weight cotton or wool. The skirt can be lighter, utilizing printed cottons or linen blends. The apron is where you can have fun with contrasting colors or textures, often using silk, lace, or a delicate cotton print.
Here is the essential list of materials and tools you will need to get started:
- Sewing Pattern: Trusted options include Burda Style (patterns 7443 or 8448 are classics) or Folkwear 123. These provide the specific architectural lines needed for that iconic silhouette.
- Main Fabric: Approximately 2.5 to 3 yards of cotton, linen, or jacquard for the dress.
- Lining Fabric: 1 yard of lightweight cotton to ensure the bodice is comfortable against your skin.
- Apron Fabric: 1 to 1.5 yards of a complementary or contrasting fabric.
- Fusible Interfacing: Essential for stiffening the bodice so it holds its shape without wrinkling.
- Piping: Store-bought or homemade piping cord to accentuate the neckline and armholes.
- Notions: Matching thread, a 20-inch invisible or standard zipper (or bodice hooks if you prefer a traditional front closure), and any decorative buttons.
- Sewing Equipment: A standard sewing machine, fabric scissors, pins, an iron, and a measuring tape.
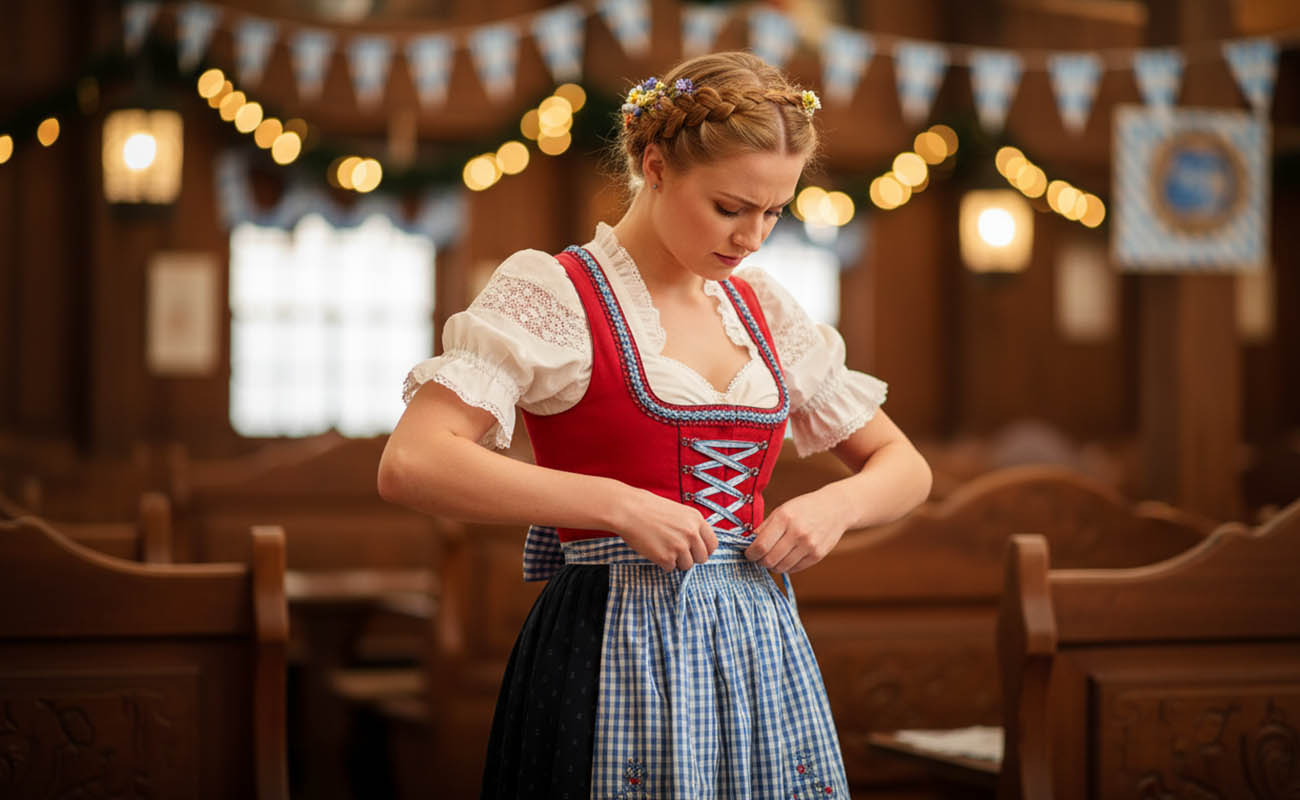
Constructing the Bodice
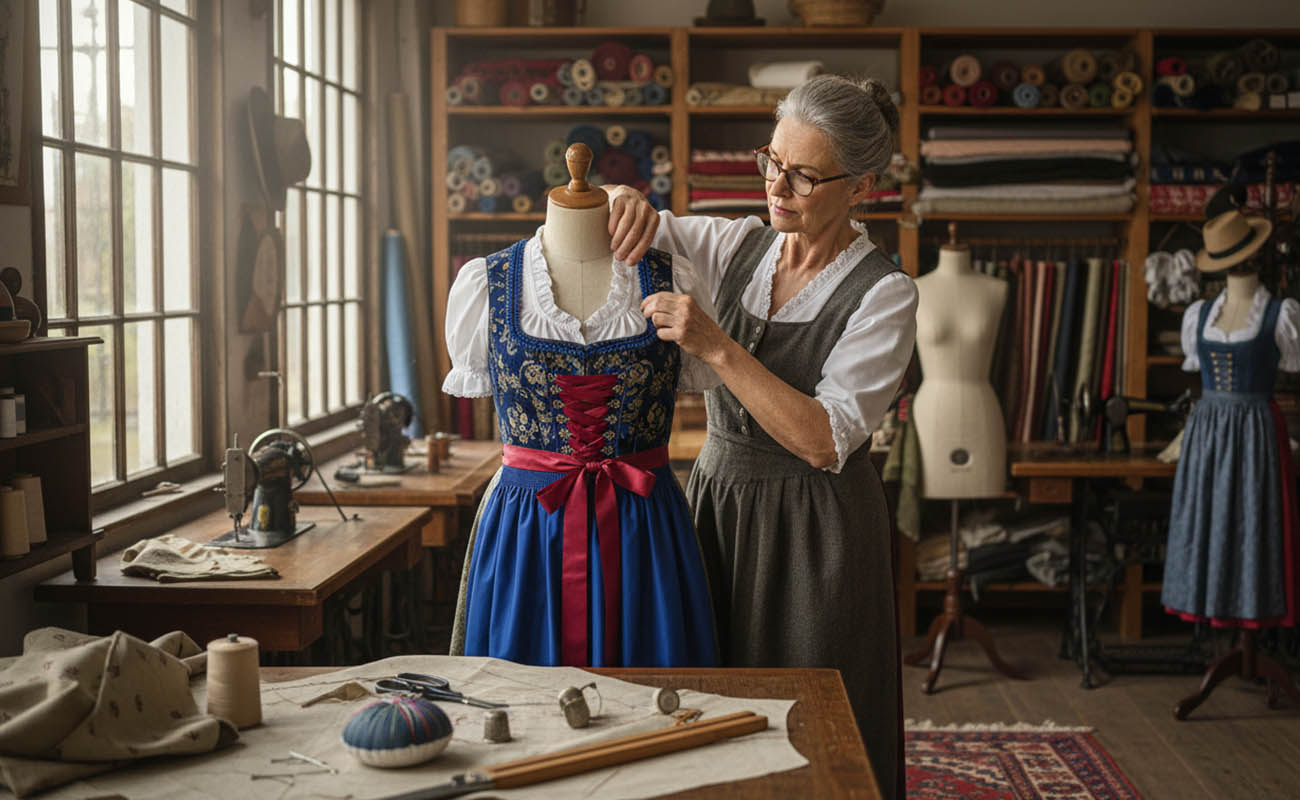
The bodice is the heart of the dirndl. It defines the silhouette, pushing everything up and in to create the famous décolletage associated with Bavarian traditional dress. Because fit is paramount, you should consider making a “muslin”—a test run using scrap fabric—before cutting into your expensive material.
Start by cutting your main fabric and lining pieces. Iron your fusible interfacing onto the wrong side of your main bodice pieces immediately. This step is non-negotiable; without interfacing, your bodice will sag and bunch up throughout the day.
Once your pieces are prepped, sew the side seams and shoulder seams of your main fabric together, pressing the seams open flat. Repeat this process for the lining. If you want a truly professional look, insert piping along the neckline and armholes of the main fabric before attaching the lining. Piping frames the garment and hides minor imperfections in your sewing.
With right sides together, sew the lining to the main fabric along the neck and arm edges, sandwiching the piping in between. Clip the curves of your seam allowances so the fabric turns right-side out smoothly. Turn it out, press it aggressively with plenty of steam, and you will see your bodice take shape.
Sewing the Skirt
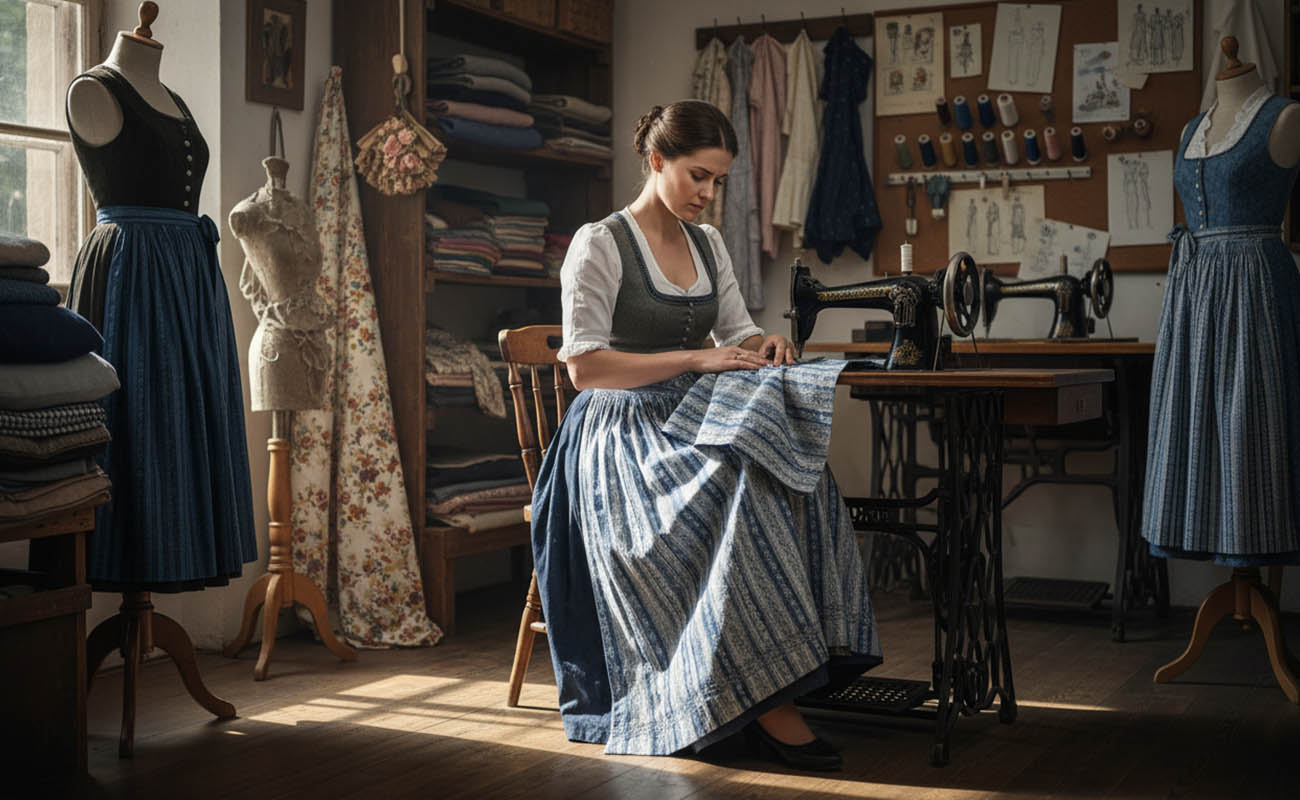
While the bodice requires precision, the skirt is forgiving and straightforward. Traditional dirndl skirts are essentially large rectangles gathered or pleated into a waistband. The standard length varies, but for a classic look, aim for a hem that hits below the knee or at mid-calf.
Cut a rectangular panel based on your waist measurement multiplied by three. This ensures you have enough volume for those beautiful, swishy pleats. You have two main choices for reducing the waist volume: gathering or pleating. Gathering involves running two lines of long stitches along the top edge and pulling the bobbin threads to scrunch the fabric until it matches the width of your bodice.
Pleating offers a cleaner, more architectural look. You can create knife pleats (all facing one direction) or box pleats (facing away from each other). Pin your pleats in place and baste them down. Once your skirt is the same width as your bodice, pin the skirt to the bottom edge of the bodice, right sides together, and stitch.
Don’t forget the closure. Most modern sewing patterns will guide you to install a long zipper down the center back or side seam that runs through both the bodice and the top of the skirt. An invisible zipper offers a sleek finish, but a standard zipper hidden under a placket is more traditional.
Get Details: Who Wore a Dirndl?
The Apron and The Bow
No dirndl is complete without its apron. This piece is the easiest to sew but carries the most social significance. The apron should be slightly shorter than the skirt hem—about two inches is standard—so a peek of the dress fabric shows at the bottom.
Cut a rectangle of your chosen apron fabric. Hem the sides and bottom narrowly. For the top, gather or pleat the fabric into a waistband that has long ties attached. The ties need to be long enough to wrap around your waist and tie into a substantial bow.
When you tie that bow, be mindful of the “secret code” of the apron knot. According to Oktoberfest tradition, tying the bow on the left indicates you are single. Tying it on the right signals you are taken or married. A bow tied in the center front historically suggested the wearer was a virgin, though today it simply implies “it’s complicated” or undecided. A bow tied in the center back is reserved for widows or waitresses.
Personalizing Your Creation
Once the construction is finished, the real fun begins. Customization is where you transform a sewing pattern into a personal statement.
Embroidery is a classic way to elevate your garment. You don’t need a fancy machine; simple hand-embroidered flowers along the neckline or the apron hem add a touch of heirloom quality. If embroidery isn’t your strength, consider adding Froschgoscherl (frog’s mouth) trim—a folded ribbon trim often found on high-end Austrian dirndls—around the neckline.
You can also accessorize with Charivari, traditional silver chains adorned with charms, coins, or hunting trophies that drape across the bodice. These add a layer of texture and history to the look.
Finally, consider your blouse. The blouse is worn underneath the bodice and is usually white or cream with puffed sleeves. While you can sew one, many DIYers choose to buy a high-quality cotton blouse to save time and focus their efforts on the dress itself. Changing your blouse from a high-neck lace version to a low-cut off-shoulder style can completely change the vibe of your outfit from day to night.
Ready for the Wiesn
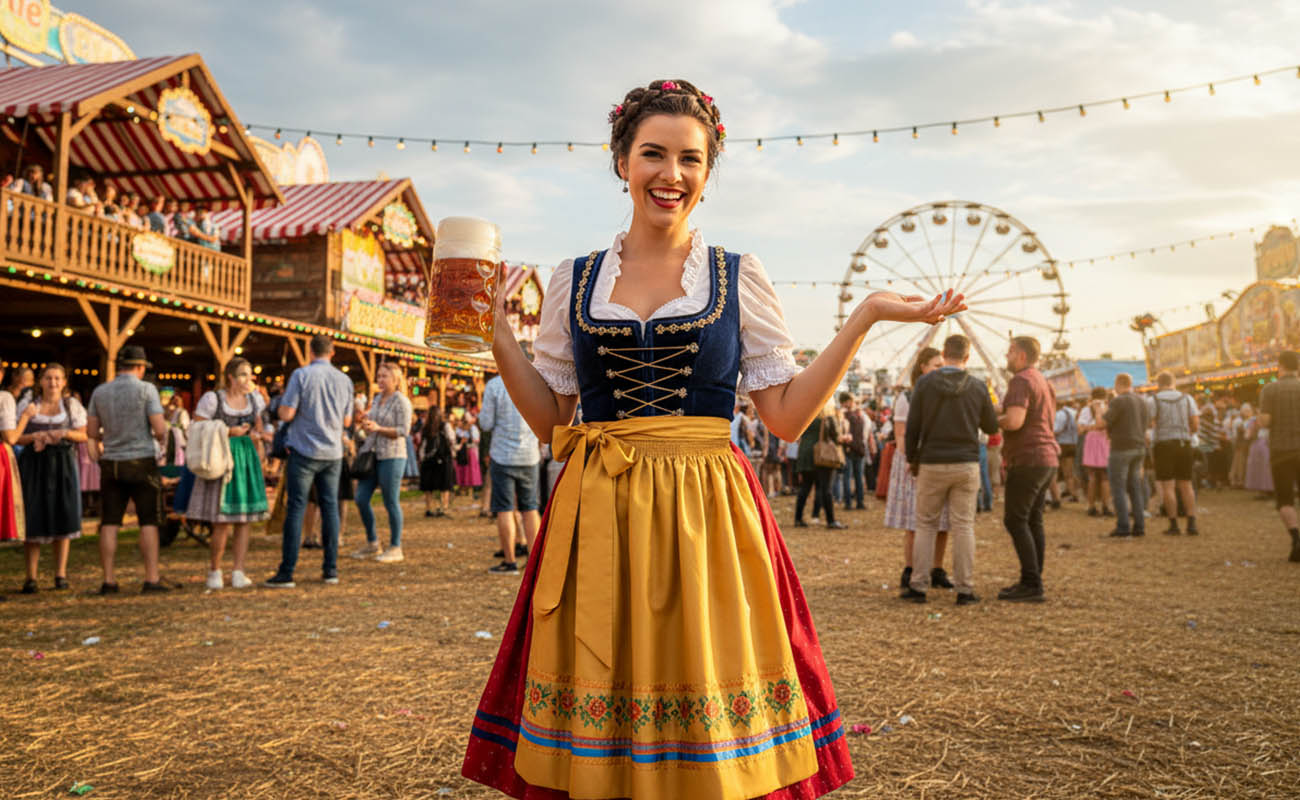
There is a profound sense of accomplishment in wearing a garment you made yourself. When you walk into the festival grounds, you won’t just look the part; you will feel a connection to the craftsmanship and history of the event. Your DIY dirndl will fit you better than any store-bought costume, and it will be unique to your style and personality.
Sewing traditional clothing is a journey of patience and creativity. Whether you are headed to Munich or a local Oktoberfest celebration, wear your creation with pride. You have built something beautiful from a pile of fabric and thread. So pour yourself a drink, adjust your apron bow, and enjoy the festivities. Prost!
Find Out More: Dirndl Bras Guide